
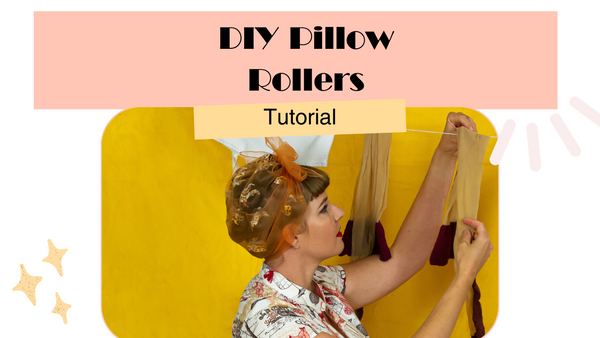
DIY Pillow Rollers
Check out how to recycle your old and tired sponge rollers into super easy pillow rollers.
Now I don't know about you, but I have an array of curling techniques in my repertoire which I can call on for specific events. For my 'Yeah I want a curl but I'm not too bothered with perfection' option I go to pillow rollers.
But what are pillow rollers? They are a softer more flexible sleeping curler, which in my opinion, allows for the best nights sleep while still having fabulous curls in the morning. You roll the hair section around much like a sponge roller, however to secure you simply twist the end sections together. This creates a less harsh base indent compared to the plastic bars on sponge rollers. I find this curling method is great for softer length curls or what I sometimes call, my lazy girl curls. You can purchase pillow rollers or take the opportunity to repurpose some old tired sponge rollers.
For this DIY you will need:
- Old sponge rollers (you can use new ones too if you want, but I found this to be a great way to get more mileage out of the ratty ones - make do and mend!)
- fabric scraps
- craft pipe cleaners (the soft ones not the metallic ones)
- cardboard or paper
- pins
- sewing needle and thread or overlocker or sewing machine (I chose to overlock mine)

I happen to love scrap busting ideas. I collect and work with so much amazing fabric that I never want to throw anything away just in case it might come in handy. This project was for perfect during lockdown when I'd run out of 'sewable' lengths of fabric but was still itching for something to create.

I had previously converted an old set of sponge rollers into make-shift pillow rollers by simply replacing the plastic bar with strips of fabric. However, these fabric strips were raw and I would end up with little threads in my hair after I took them out - so it was time for a makeover!
Step 1:
Insert a pipe cleaner into the sponge roller and test the durability by rolling up a section of hair. I personally found that I needed 2 pipe cleaners so they felt secure at the top of the roll. I simply twisted these together, folding over the ends so there were no sharp bits and inserted into the roller.


Step 2:
Draw a pointed oval shape around your pipecleaned (it's a word, ok) roller, which will create the template for the fabric coverings.

Step 3:
Step 4:


Transform Yourself Into Pinup Perfection with the Sunshine Coast Pinup School
Subscribe for more pinup and retro hair tutorials over on YouTube
Sign up to be part of the Pinup Girl Gang email newsletter
Get my Beginners Guide to Pinup e-book
Read more at the Pinup School Blog
Want to learn how to do your own pinup and vintage inspired hair and makeup? Check out the Online Courses on offer.